
Ava Brooks
22 Sept 2026
How to Install & Activate an eSIM on iPhone: Step-by-Step Guide
Bought an eSIM but aren't sure when to install or activate it? You're not alone. Those are two different steps, and mixing them up can cause problems before a trip.
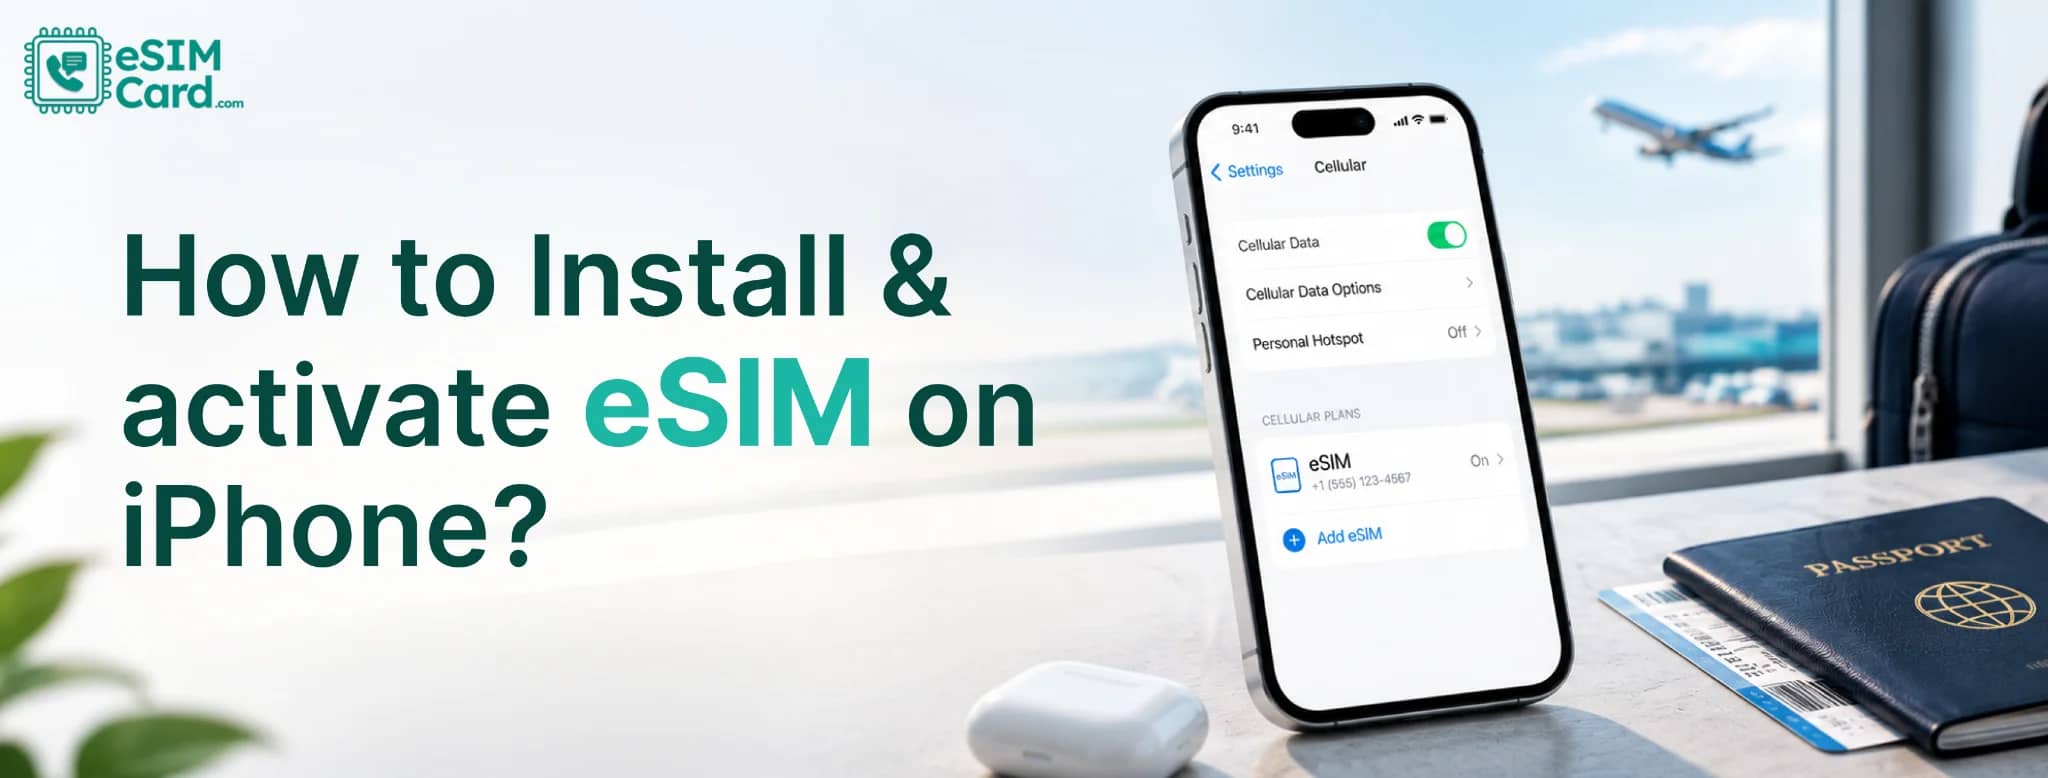
To install an eSIM on iPhone, open Settings > Cellular or Mobile Data > Add eSIM. You can then use a QR code, supported app, activation link, or manual setup details.
If you're traveling with eSIMCard, it's usually smart to install your eSIM while you still have reliable Wi-Fi.
Check your plan details before turning it on for travel, since activation and validity rules can differ between plans.
Once it's installed, you still need to configure the right line for mobile data. That's the part travelers sometimes miss.
In this article, you’ll learn how to install, activate, and configure an eSIM on your iPhone. We cover QR code setup, direct or app installation, manual SM-DP+ setup, Carrier Activation, and eSIM Quick Transfer based on Apple’s official guidance.
4.9

Highly Rated
Based on 500,000+ customer reviews

Trusted worldwide
Over 1 million travelers across the globe have trusted us

Travel Friendly
No swaps, global connectivity ensured
What Do You Need Before Installing an eSIM on iPhone?
A few quick checks can save you from staring at an error message five minutes before your flight.
You'll need:
- An eSIM-compatible iPhone
- An unlocked phone
- A reliable Wi-Fi connection
- Your eSIM QR code, app, link, or manual installation details
- A current iOS version when possible
Apple generally supports eSIM on iPhone XS, iPhone XS Max, iPhone XR, and later models. Availability can differ by country, model, and carrier.
If you're using a newer model, see our iPhone 17 eSIM setup guide for model-specific instructions.
If you're using eSIMCard, keep your installation details available before starting. Don't delete the email or setup information until the eSIM is working.
How to Check if Your iPhone Supports eSIM
The quickest check is inside Settings.
- Open Settings > Cellular or Settings > Mobile Data. Look for Add eSIM.
- You can also open Settings > General > About and look for an EID. The EID identifies your phone's embedded SIM hardware.
- Next, check whether the phone is carrier-unlocked.
- Go to Settings > General > About > Carrier Lock. If you see No SIM restrictions, your iPhone isn't locked to one carrier.
- Don't see Add eSIM or an EID? Check your exact iPhone model and region before buying a plan.
How to Install an eSIM on iPhone
There's more than one way to add an eSIM to an iPhone.
For most travel eSIM users, the first three matter most. Apple also supports other carrier-based methods, including Carrier Activation and eSIM Quick Transfer.
These are different from buying a new travel eSIM.
How to Install an eSIM on iPhone With eSIMCard
After buying an eSIMCard plan, open your eSIM details in your eSIMCard account or app.
Choose the eSIM you want to install. Depending on the available setup options, you may be able to use direct installation, a QR code, or manual details.
If direct installation is available, follow the prompts shown on your iPhone. For QR installation, keep the QR code ready on another screen or device.
You can also use supported same-phone installation methods on newer iOS versions.
Manual installation is useful when scanning isn't practical. You'll need the SM-DP+ address and activation code supplied with the eSIM.
Don't rush through the last screens. Give the new line a clear label such as Travel or eSIMCard. It makes selecting the right data line much easier later.
How to Install an eSIM on iPhone Using a QR Code
- QR installation is one of the simplest ways to add a travel eSIM.
- Open: Settings > Cellular or Mobile Data > Add eSIM > Use QR Code
- Point your iPhone camera at the QR code supplied by your eSIM provider.
- Your iPhone should recognize the activation information and show the next setup screen. Follow the prompts to add the plan.
- Once installed, give the line an easy-to-recognize label. Calling it Travel, Trip, or eSIMCard is better than leaving several lines named Primary and Secondary.
- Keep the QR code private. It contains information linked to your eSIM installation.
Can You Install an eSIM QR Code From the Same iPhone?
Yes, in supported situations. If you're using iOS 17.4 or later, Apple supports adding certain eSIM QR codes directly from an email or browser.
Press and hold the QR code, then choose Add eSIM when that option appears. That saves you from sending the QR code to a laptop or asking someone else to display it.
If the option doesn't appear, don't panic. Open the eSIMCard app if direct installation is available.
You can also use an activation link or enter the installation details manually. Taking a screenshot and trying to scan it with the same phone isn't the only option anymore.
How to Install an eSIM Manually on iPhone
Can't scan the QR code? Manual setup gives you another route. Go to: Settings > Cellular or Mobile Data > Add eSIM > Use QR Code > Enter Details Manually
Your provider may give you:
- SM-DP+ address
- Activation code
- Confirmation code, if required
- Other plan-specific setup information
Enter the details exactly as provided. A missing character can stop the profile from downloading.
With eSIMCard, use the manual installation details attached to the specific eSIM you're installing. Don't reuse information from another eSIM.
Once the profile downloads, continue through the iPhone setup screens and label the new line.
What Is an SM-DP+ Address?
An SM-DP+ address tells your iPhone which secure server to contact when downloading an eSIM profile.
Think of it as part of the route your phone uses to find the correct digital SIM. You usually don't need to type it when QR or direct installation works.
It becomes useful during manual setup. The SM-DP+ address isn't the same as an APN. They serve different jobs, so don't copy one into the other field.
How to Label and Configure Your New eSIM
Installation isn't quite the finish line. Your iPhone may ask you to label each cellular plan. Names such as Primary, Personal, Business, and Travel help distinguish the lines.
For a travel plan, naming the new line eSIMCard or Travel makes sense. Next, your iPhone may ask which line should handle calls and messages.
You can normally keep your home line as the default if you want to retain your regular number.
For mobile data abroad, select your travel eSIM. Also check Allow Cellular Data Switching. If it's enabled, your iPhone may use another cellular line for data under certain conditions.
Travelers trying to avoid home-carrier data roaming will usually want tighter control over this setting.
How to Activate an eSIM on iPhone
Installing an eSIM and activating its plan aren't always the same event.
- Once the profile is installed, open Settings > Cellular or Mobile Data and select your travel eSIM.
- Make sure Turn On This Line is enabled when you're ready to use it.
- Next, open Cellular Data or Mobile Data and select the travel eSIM as your data line.
- If your plan requires Data Roaming, turn it on for the travel eSIM. Keep Data Roaming off on your home line if you're trying to avoid home-carrier data charges.
- Activation rules vary by provider and plan.
- Check the eSIMCard plan details before travel so you know when its validity starts.
Does Installing an eSIM Activate the Plan?
Not always. This distinction can save you from starting a short travel plan earlier than intended.
Some plans may begin under specific activation conditions. Others use different rules. So don't assume that scanning a QR code automatically starts your plan's validity period.
Check the activation information attached to your eSIMCard plan before installation or travel.
When Should You Install and Activate a Travel eSIM?
Installing before departure is usually the easier option. Do it while you have stable Wi-Fi and time to fix anything that goes wrong.
Discovering that your phone is locked after landing isn't much fun. Activation needs more care.
Check the validity rules for your specific travel eSIM. If the plan is designed to start when it reaches a supported destination network, installation beforehand may be fine.
If your trip includes several nearby countries, Regional plans can provide coverage across multiple destinations with one travel eSIM.
If its validity starts under different conditions, follow those instructions instead. Simple rule: install early, but activate according to the plan.
Should Data Roaming Be On for an eSIM on iPhone?
It depends on the eSIM plan. Many travel eSIMs connect through partner networks and may require Data Roaming on the travel line. Follow the instructions provided with your specific plan.
Your home SIM is a different story. If you're trying to avoid home-carrier data roaming charges, keep Data Roaming off on your home line.
So yes, your iPhone can have roaming enabled for the travel eSIM while it remains disabled for the home SIM.
Those two settings don't have to match.
Should Allow Cellular Data Switching Be On or Off?
For most travelers trying to keep mobile data on their travel eSIM, turning it off gives you more control.
Allow Cellular Data Switching lets an iPhone use cellular data from another line in certain situations.
That can be useful at home. Abroad, you may not want your home line stepping in when the travel eSIM has a weak signal.
Go to Settings > Cellular or Mobile Data > Cellular Data and check the switching option.
Set the travel eSIM as your data line and keep your home line's roaming settings under control.
Can You Keep Your Physical SIM Active With an eSIM?
Yes, on a compatible Dual SIM iPhone. A useful travel setup is to use a physical SIM and eSIM together, keeping your physical or home SIM available for calls, SMS, and bank verification codes while your eSIM handles mobile data abroad.
For example, your normal number can remain available while eSIMCard provides data for Maps, WhatsApp, email, and rideshare apps.
But keeping your home line active doesn't make its roaming free. Your carrier may charge for calls, messages, or other roaming activity. Check its roaming terms before departure.
What Happens to iMessage and FaceTime?
Switching your mobile-data line doesn't automatically mean you need a new iMessage or FaceTime identity.
Your iPhone can use your configured phone number or Apple Account for these services, depending on your settings.
Check Settings > Apps > Messages > Send & Receive if you're unsure which addresses or numbers are active.
You can also review FaceTime settings before traveling. This is useful when your eSIM is data-only.
Your travel eSIM can provide internet access while your usual iMessage or FaceTime identity remains available.
What If the eSIM Does Not Work on iPhone?
An eSIM that won't connect doesn't always need reinstalling. Start with the basics.
If your QR code says it has already been used, check your installed SIMs before doing anything else. The profile may already be on the phone.
No data after installation? Check the active data line next. Then look at Data Roaming, network selection, and any APN details supplied with the plan.
Avoid deleting the eSIM as your first fix. Some profiles have restrictions on downloading them again.
Should You Delete an eSIM After Your Trip?
Not immediately. Turn it off first. Go to your cellular settings and disable the travel line when you no longer need it.
Then switch mobile data back to your home SIM. Deleting is more permanent. If you might reuse the plan or profile, check its terms before removing it.
Reinstallation rules differ between providers and eSIM profiles. Once you're certain the eSIM is finished and won't be needed again, you can remove it from your iPhone.
Why Use eSIMCard on iPhone?
eSIMCard gives iPhone users several ways to set up travel connectivity without replacing their physical SIM.
Depending on the eSIM and setup method, you can install through supported direct setup, QR code, or manual details.
You can choose Local plans for one destination, Regional plans for multi-country trips, or Global coverage for wider travel.
The eSIMCard app also gives you a place to manage your travel eSIMs from your phone.
And if setup doesn't go as planned, support can help you check installation or connectivity problems.
Conclusion
Setting up an eSIM on iPhone is simple once you separate installation from activation. Install the profile while you have reliable Wi-Fi, check when your plan starts, then select the eSIM for mobile data when you're ready to connect.
With eSIMCard, you can choose a travel plan for your destination and install it using the available setup method.
Before leaving, check your iPhone's compatibility, carrier lock, Data Roaming settings, and Cellular Data line.
A few minutes of setup before your flight can save you from hunting for a physical SIM after landing.
Choose your eSIMCard plan, install it on your iPhone, and have your mobile data ready for your trip.
FAQs
How Do I Install an eSIM on iPhone?
Go to Settings > Cellular or Mobile Data > Add eSIM. Then use the QR code, app, activation link, or manual details supplied by your provider.
How Do I Activate an eSIM on iPhone?
Turn the installed eSIM line on and select it for Cellular Data. Follow your plan's instructions for Data Roaming and activation timing.
Does Installing an eSIM Activate It?
Not always. Installation adds the eSIM profile to your iPhone, while plan activation depends on your provider's specific validity rules.
Can I Install an eSIM Before Traveling?
Usually, yes. Installing on reliable Wi-Fi before departure gives you time to fix problems. Check when your specific plan's validity begins.
Can I Install a QR Code From the Same iPhone?
Yes, in supported cases. On iOS 17.4 or later, compatible QR codes in email or a browser can be pressed and held to add the eSIM.
Why Is Add eSIM Missing on My iPhone?
Your iPhone model or regional variant may not support eSIM, or carrier restrictions may apply. Check compatibility, EID, and Carrier Lock settings.
Should Data Roaming Be On for My Travel eSIM?
It depends on the plan. Many travel eSIMs require Data Roaming on their line, while your home SIM can keep Data Roaming off.
Can I Use My Physical SIM and eSIM Together?
Yes, on compatible Dual SIM iPhones. You can keep your home line for calls or messages and use your travel eSIM for mobile data.